

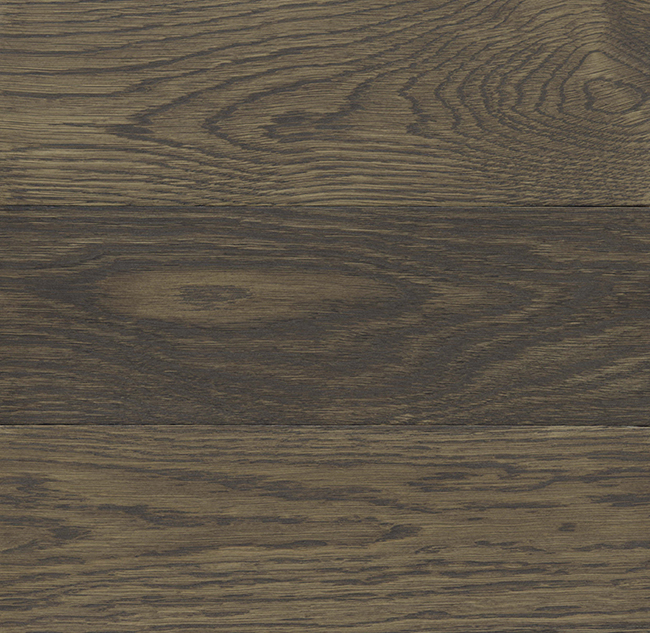
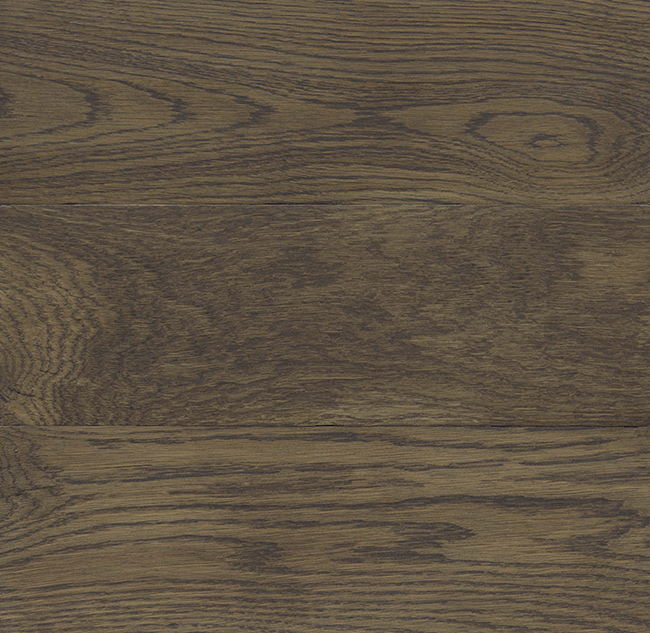
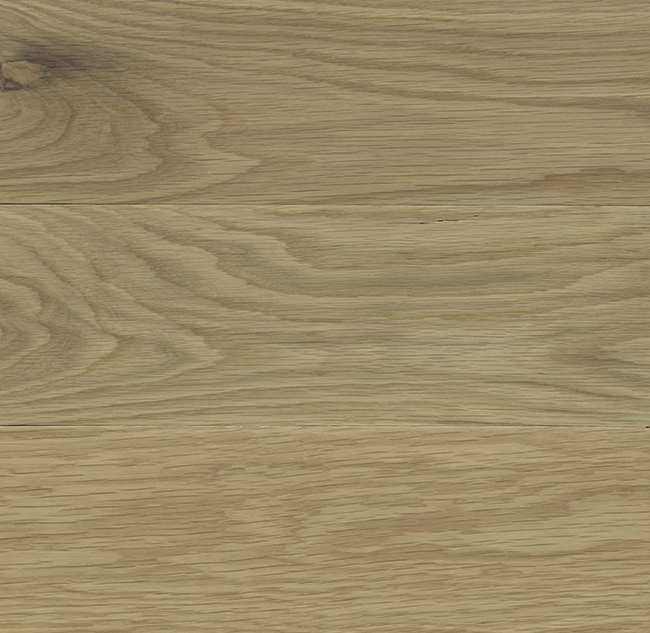
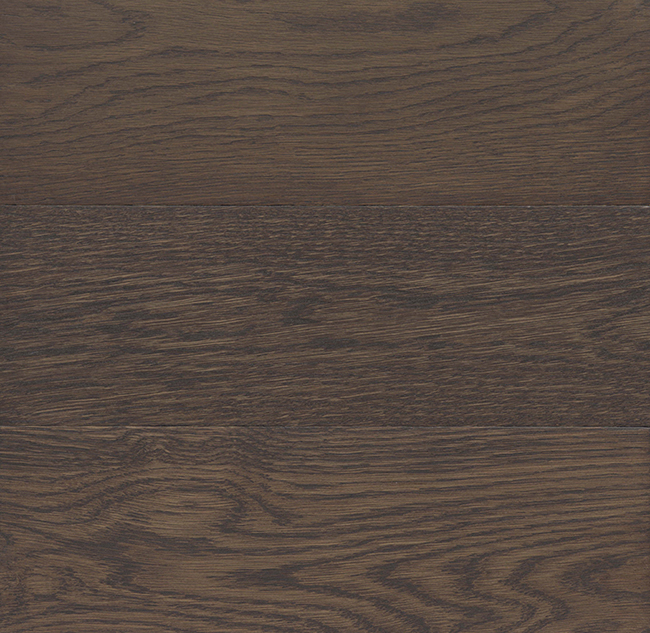
We never rely on showroom chips alone. To get the perfect look, we sand down a small section of your actual floor and apply the top contenders. This allows our clients to see exactly how the stain reacts to their specific wood grain and how the natural light in their home affects the final color.
All samples shown here are finished with a sophisticated low-luster satin sheen, which is durable, hides wear, and enhances the wood's natural beauty without overwhelming glare.
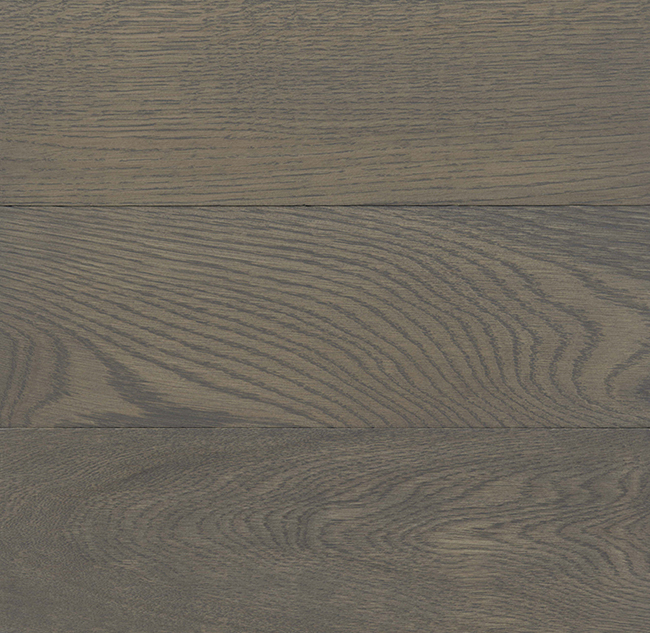
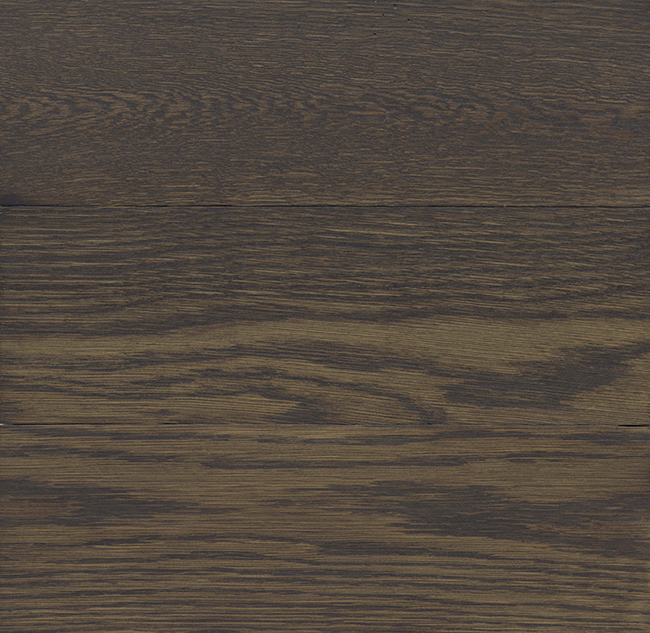
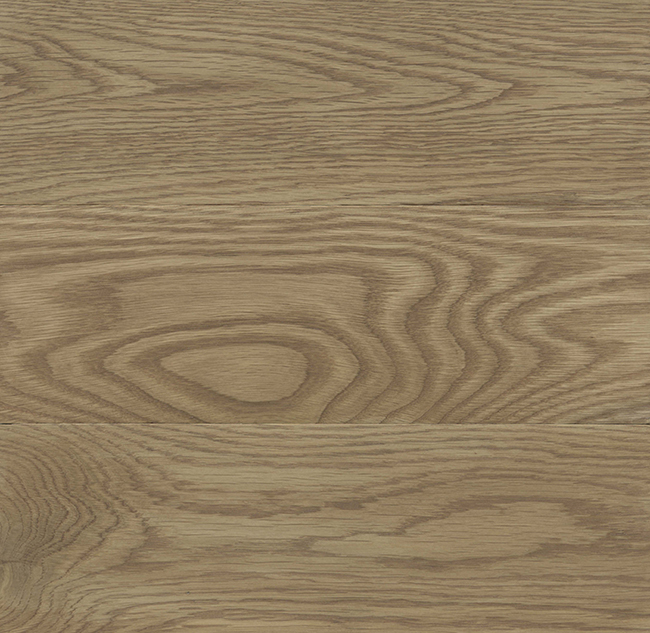

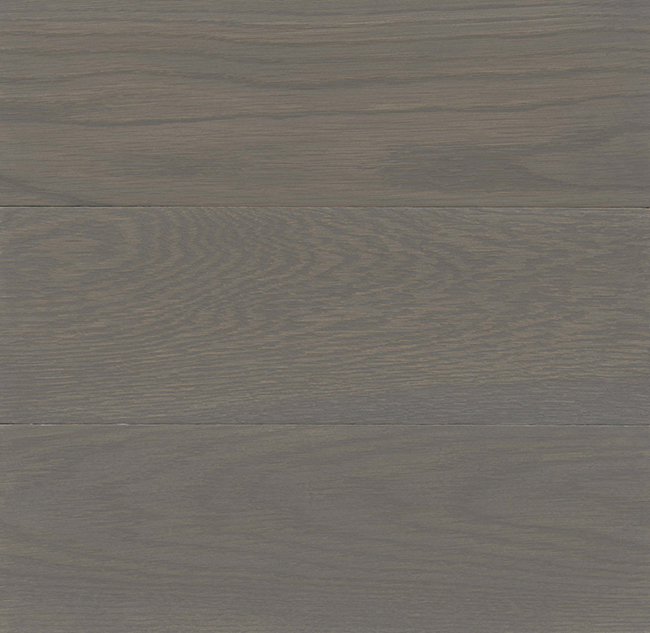
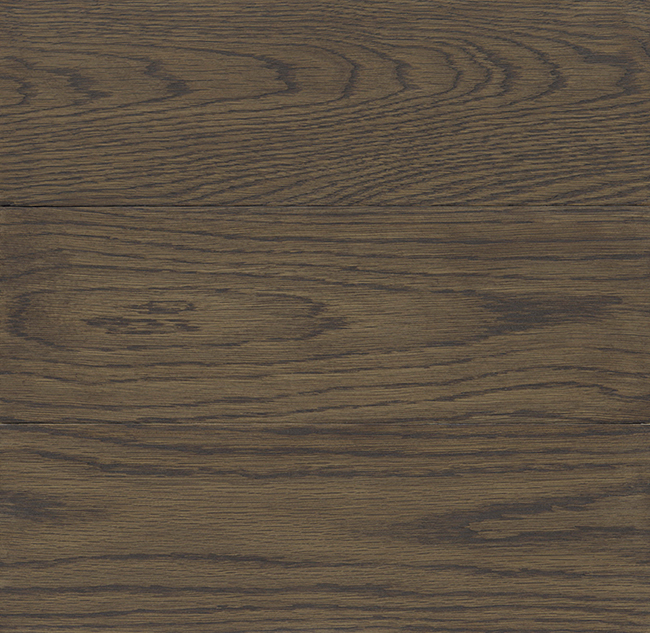
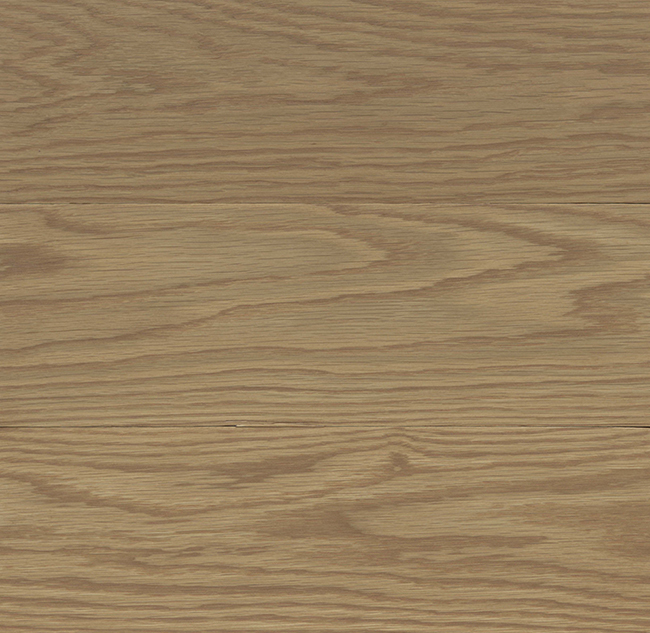

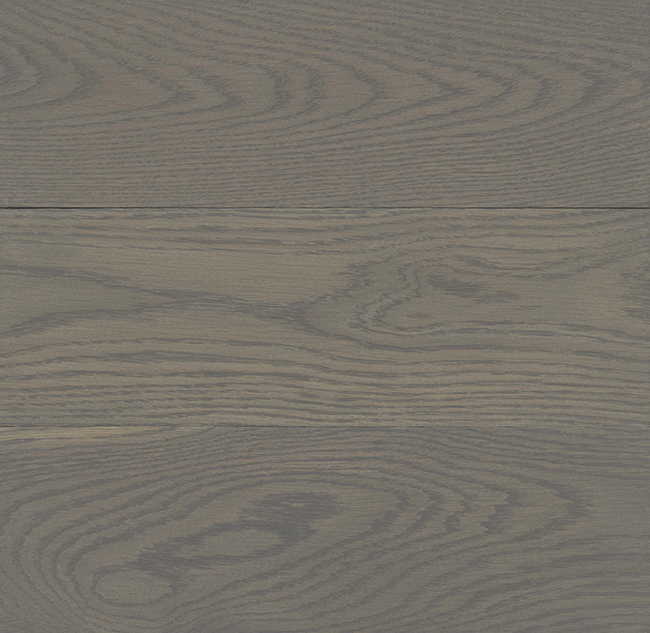

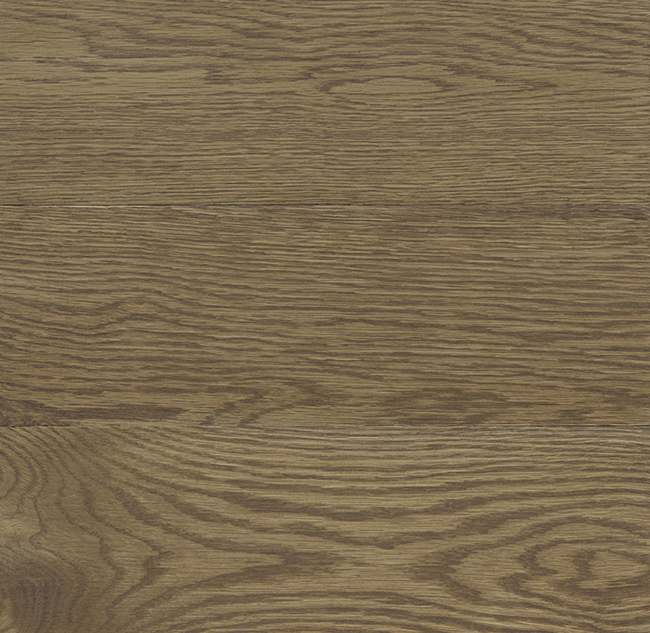
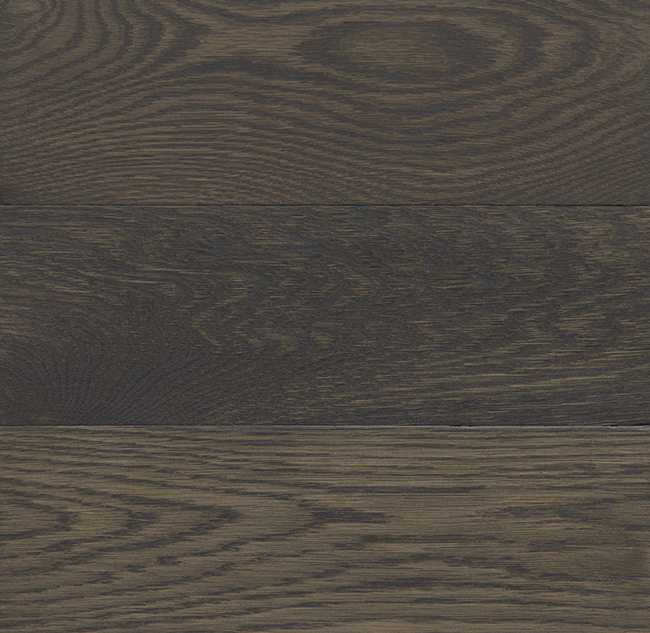

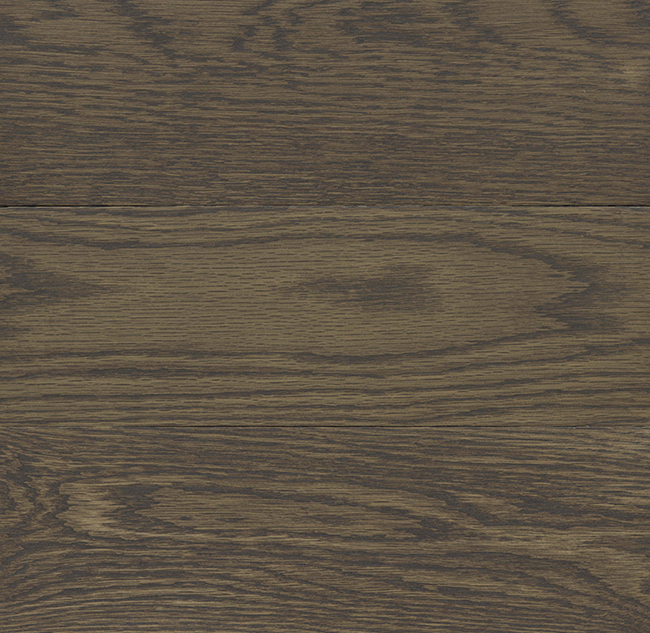
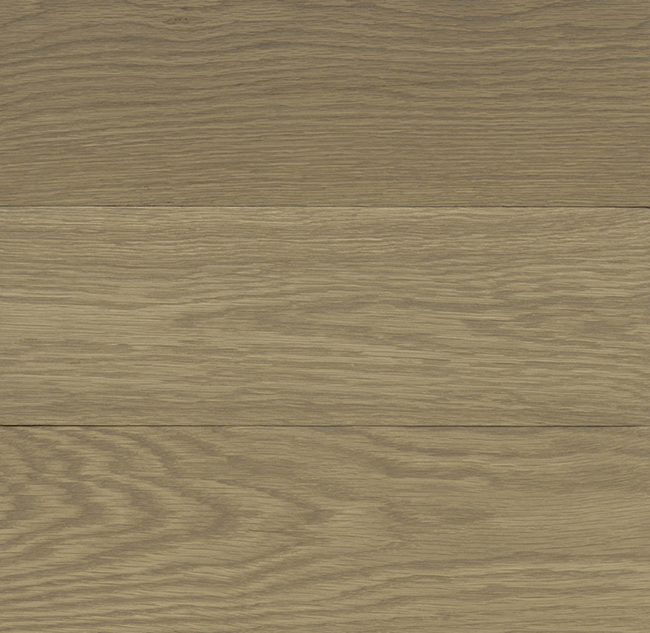
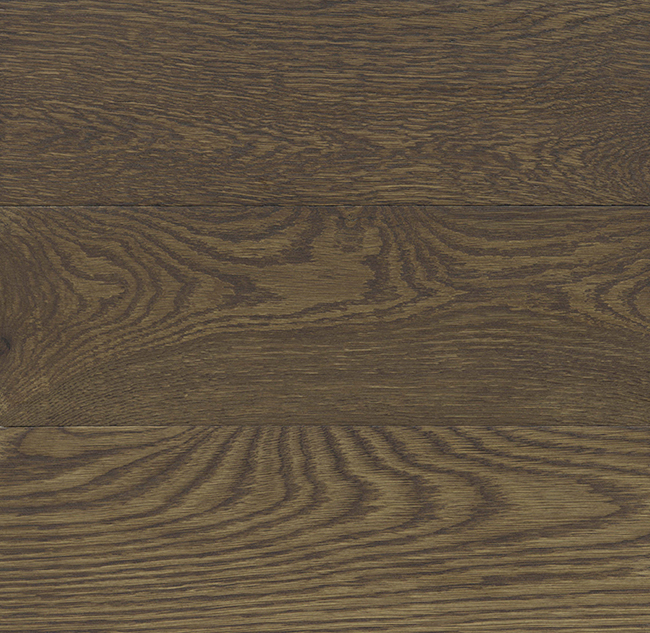
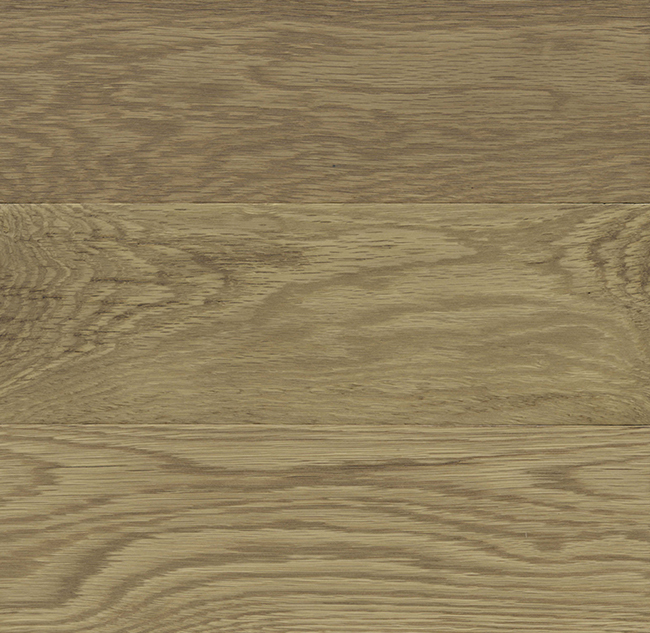
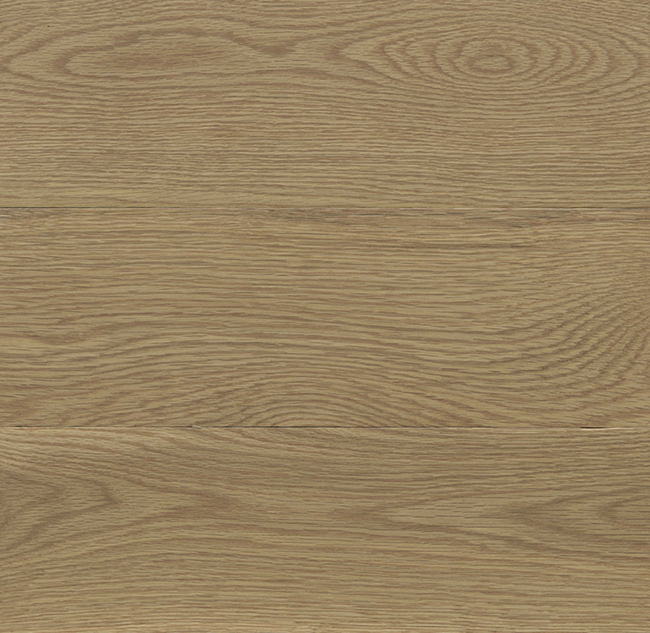
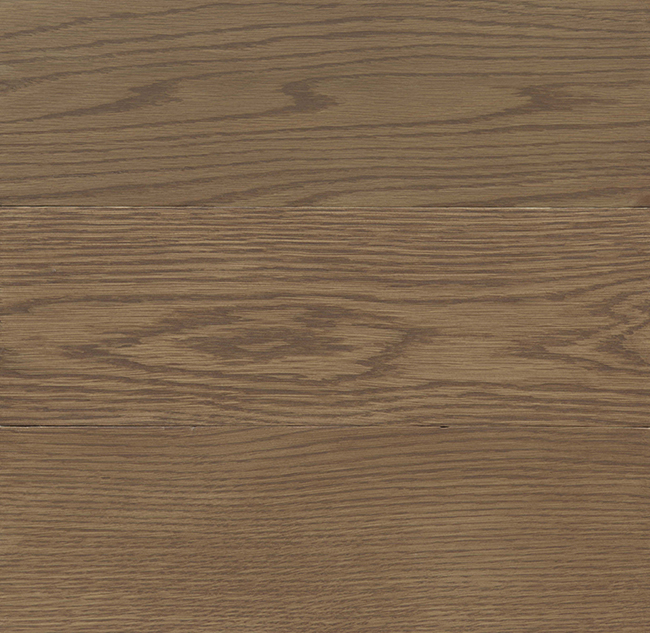
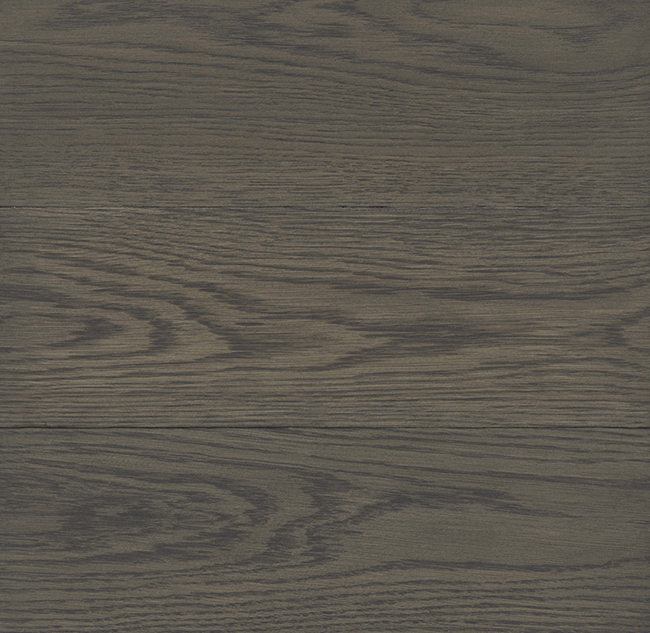


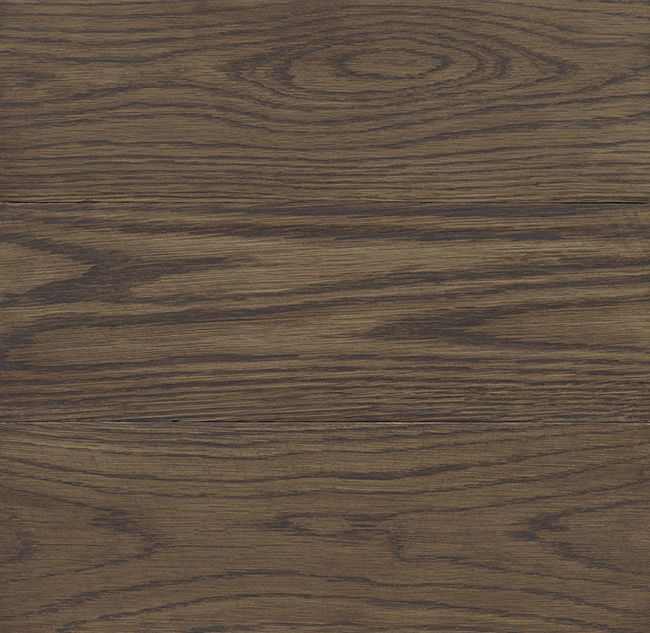
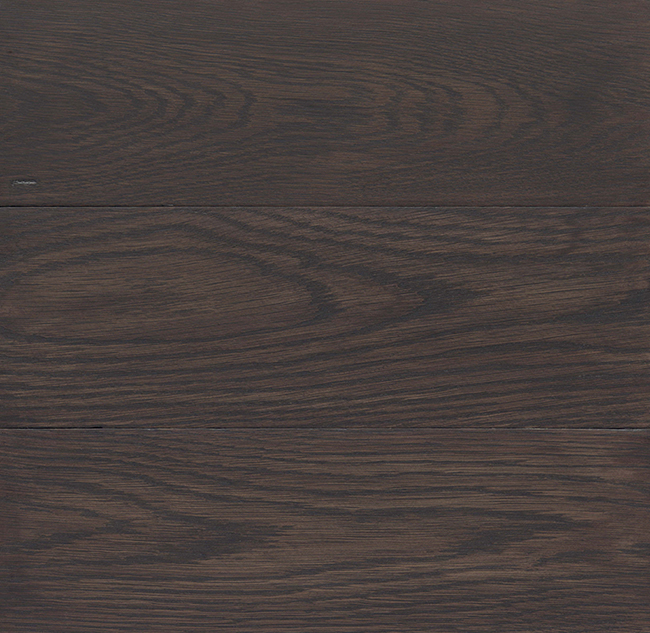
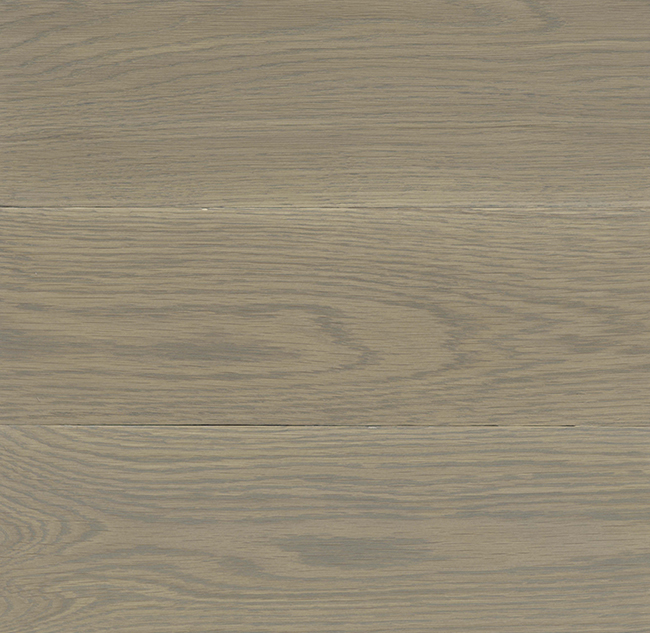
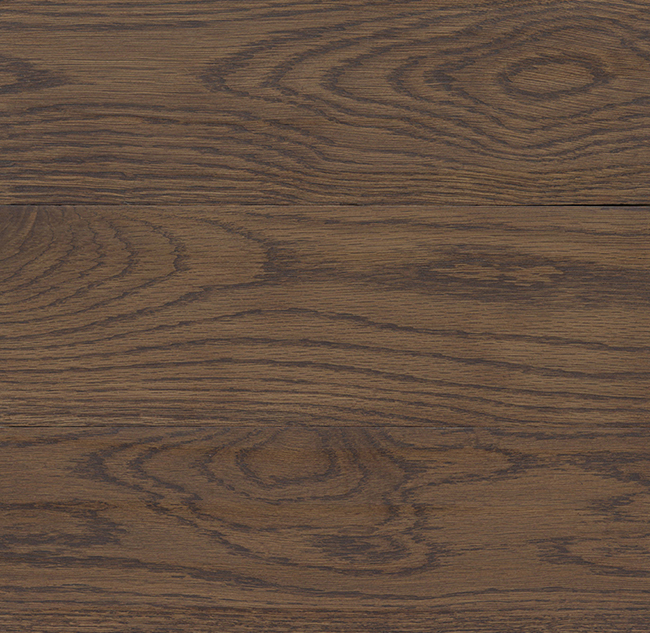
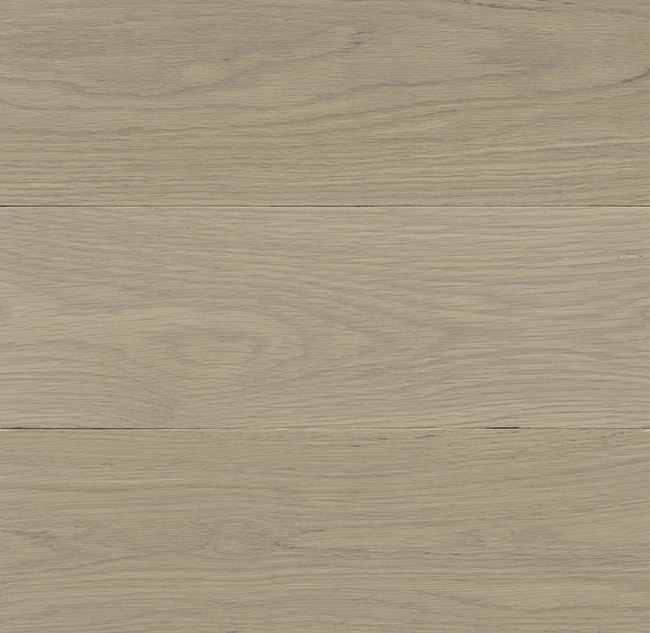


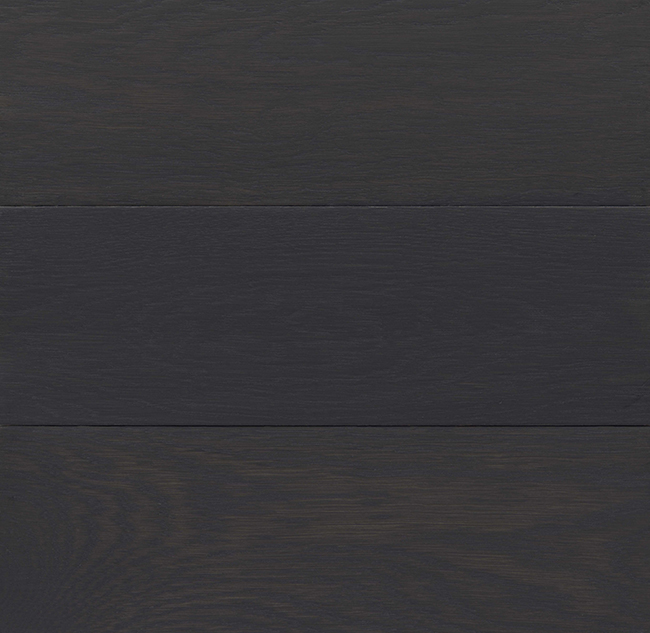
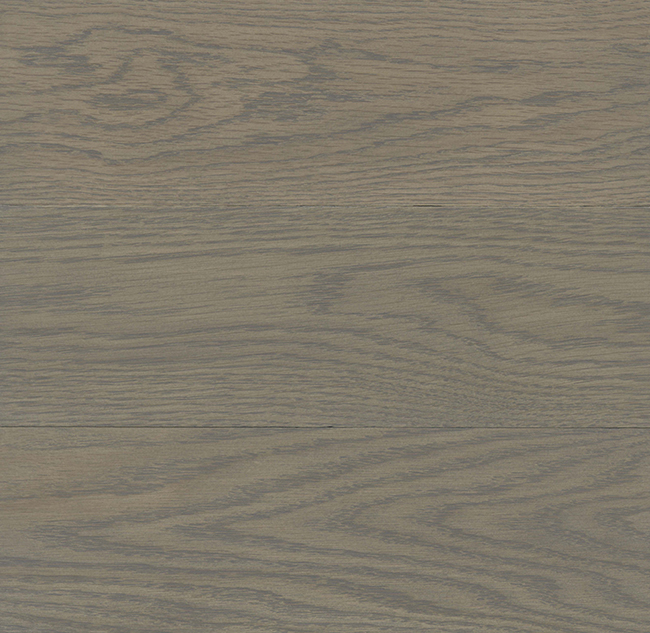
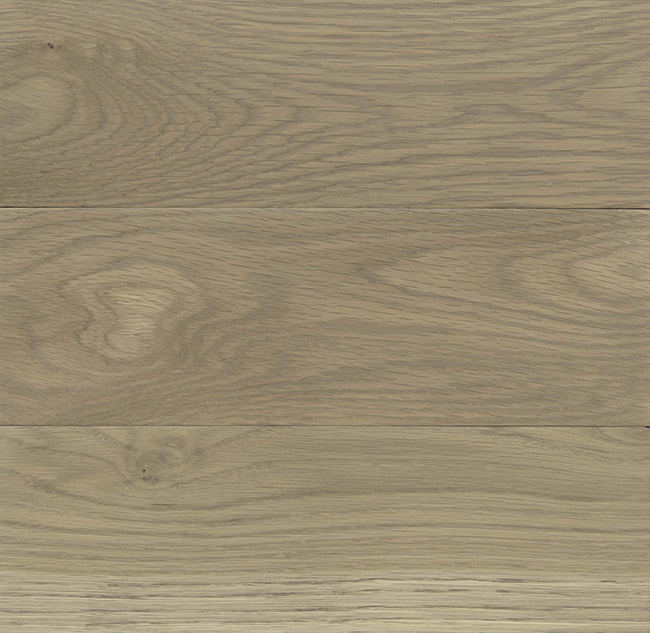
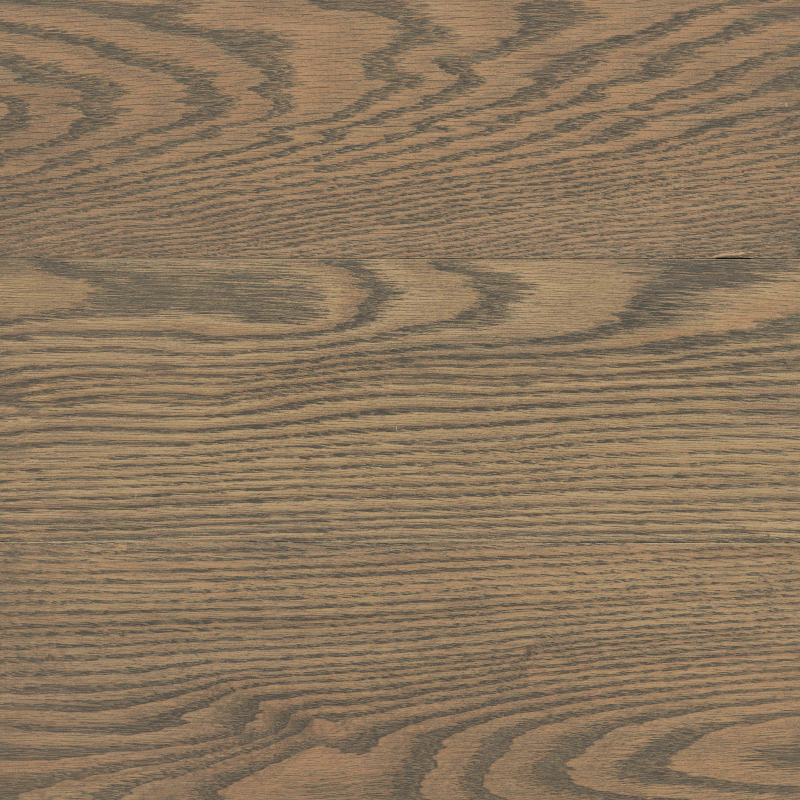
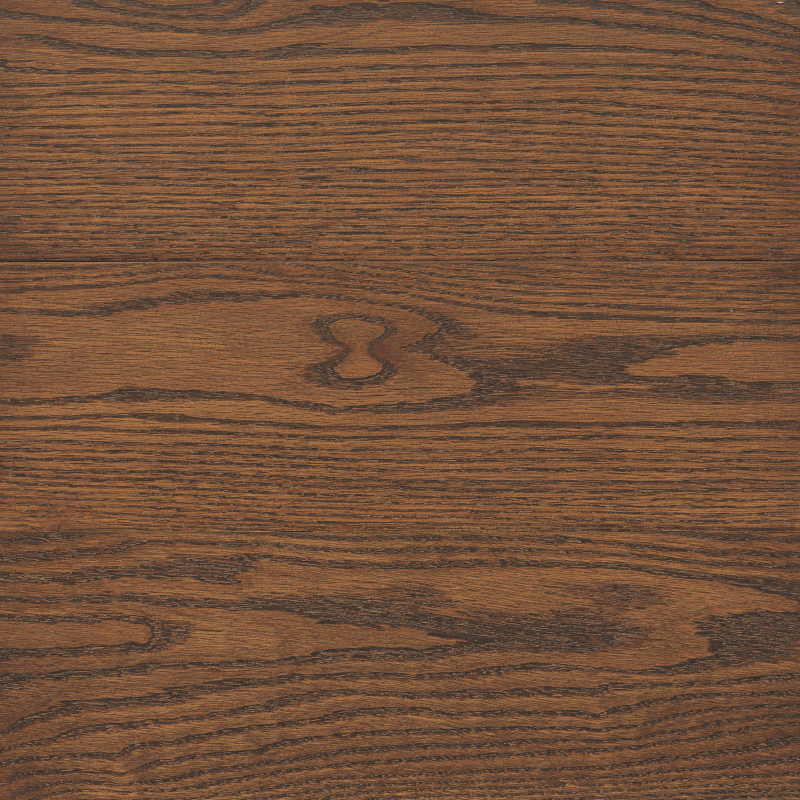
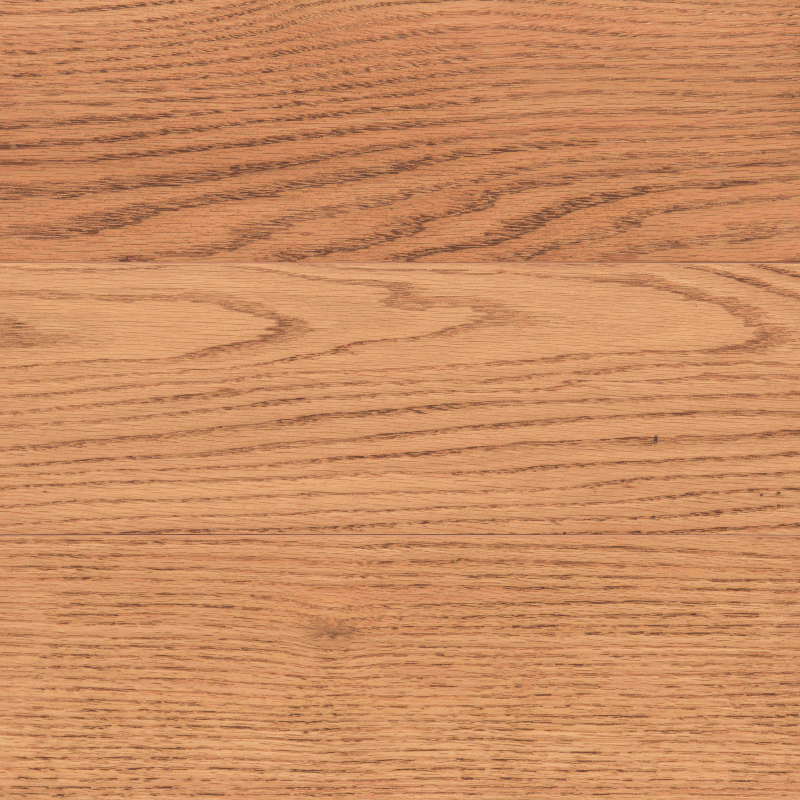
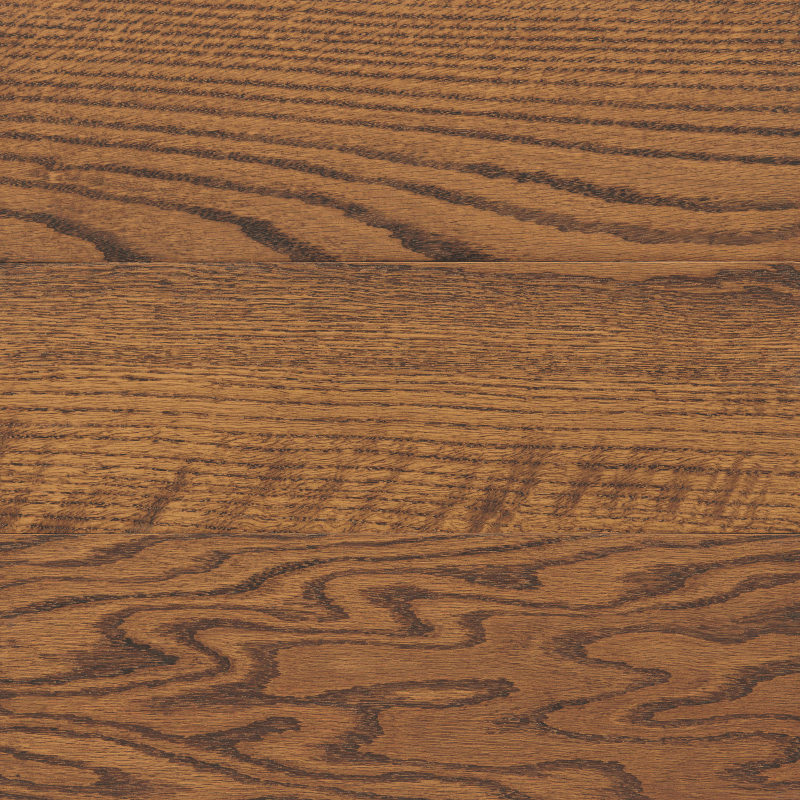
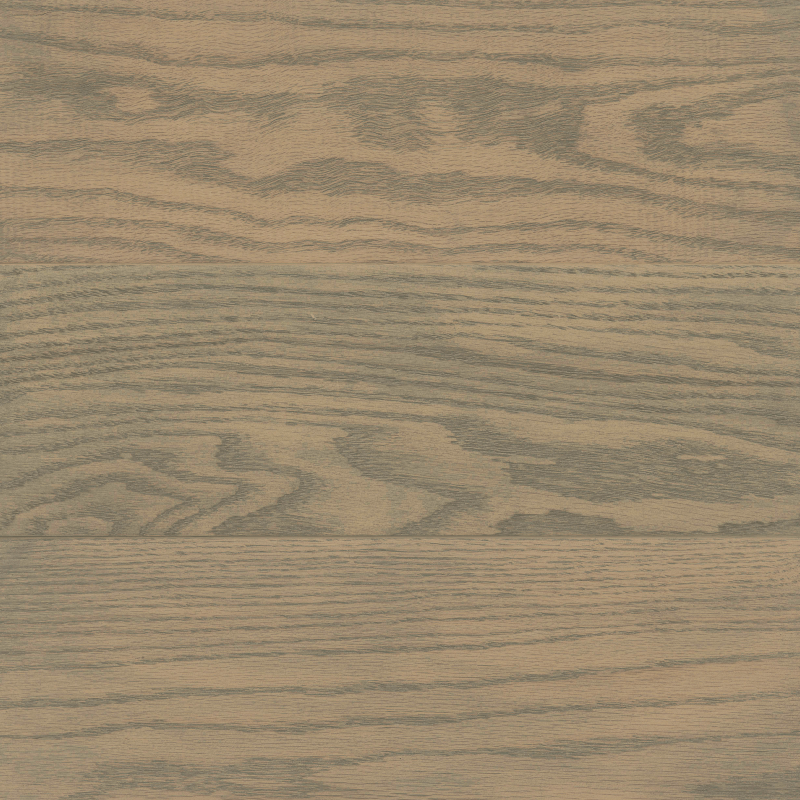
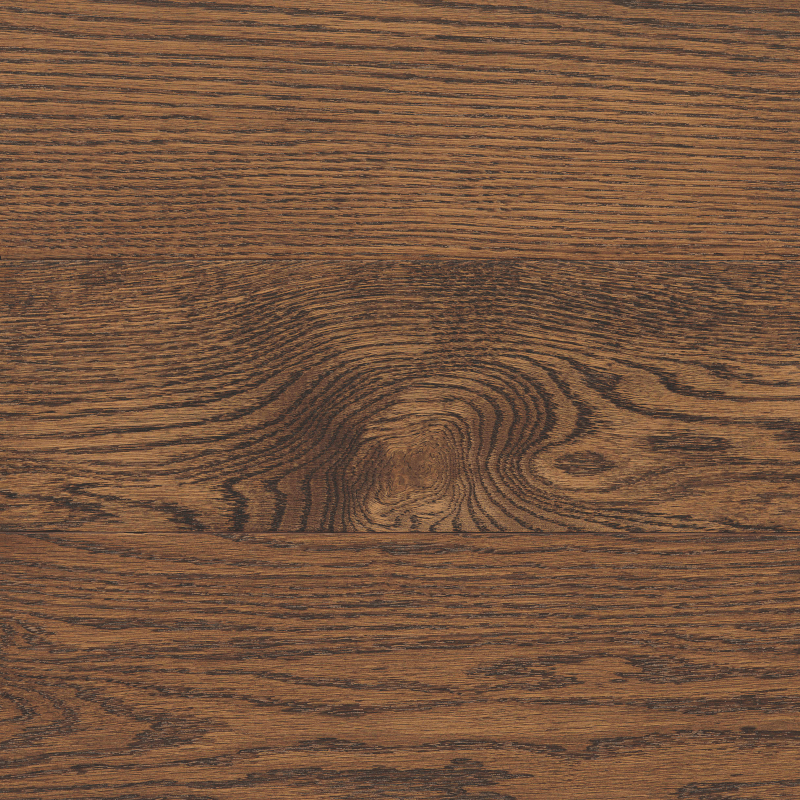

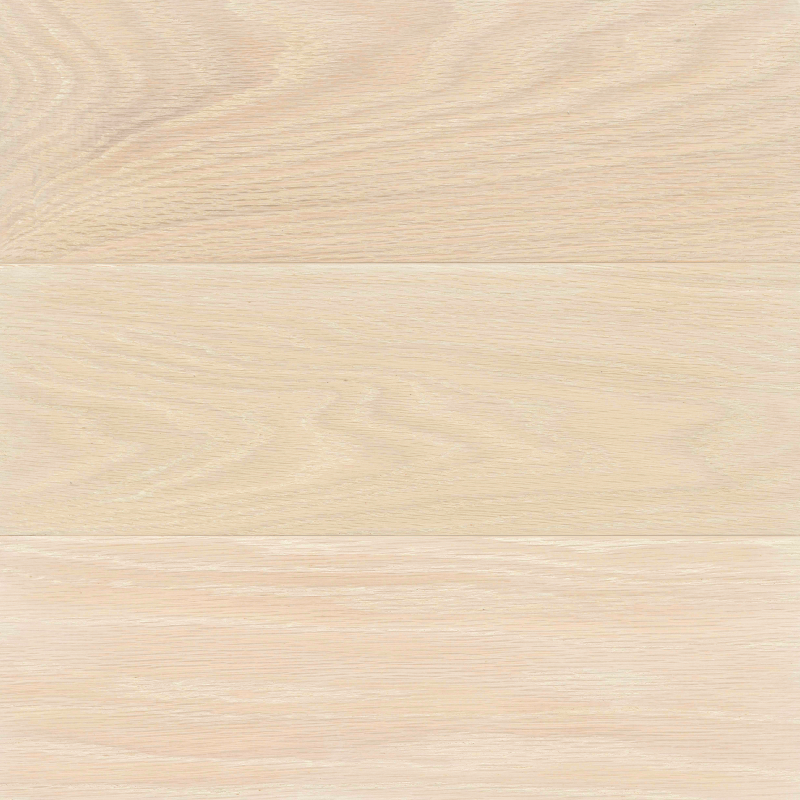
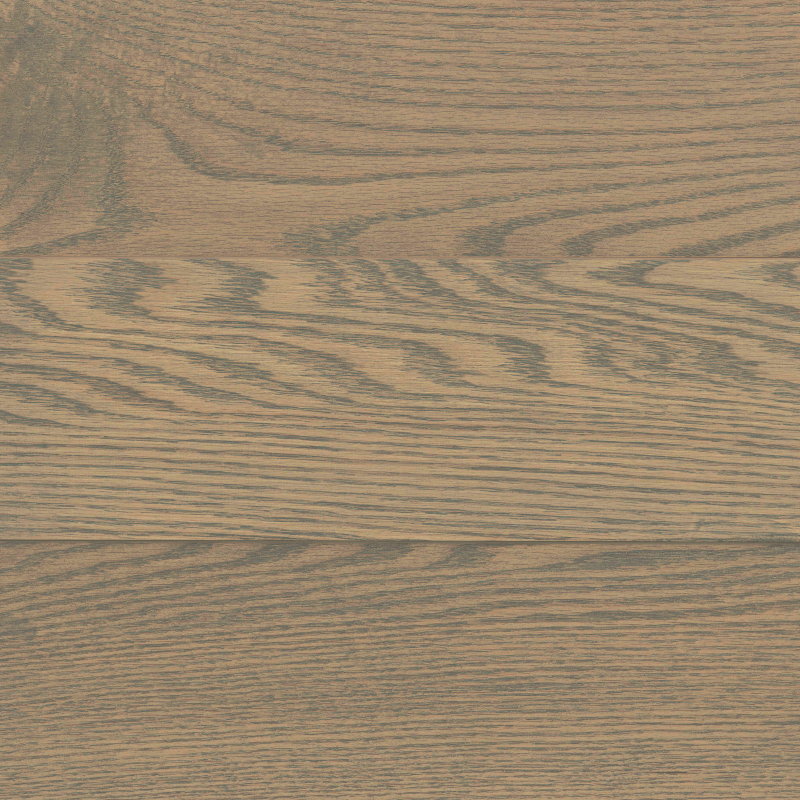
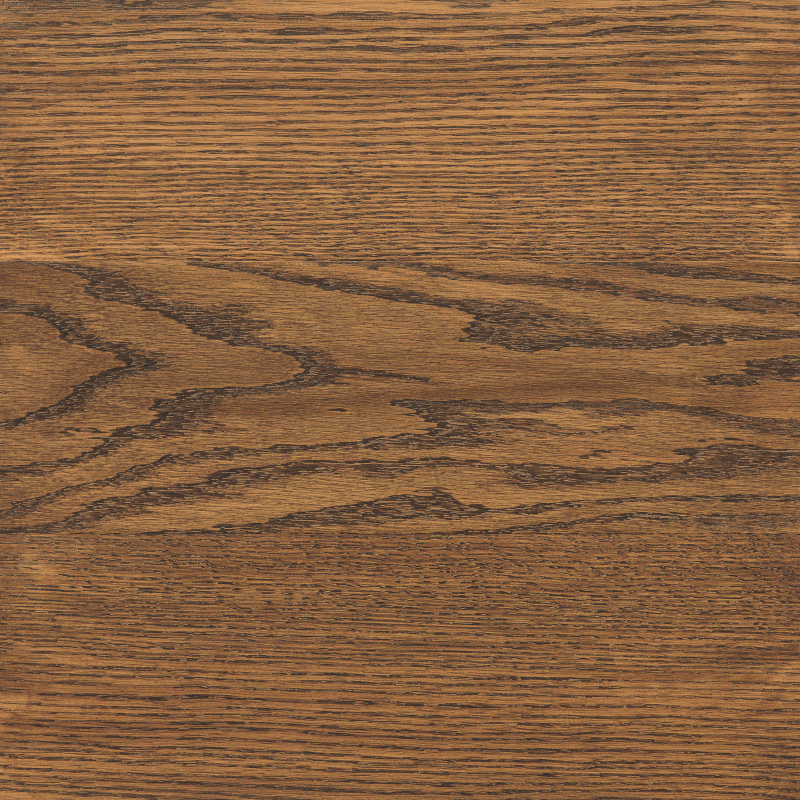
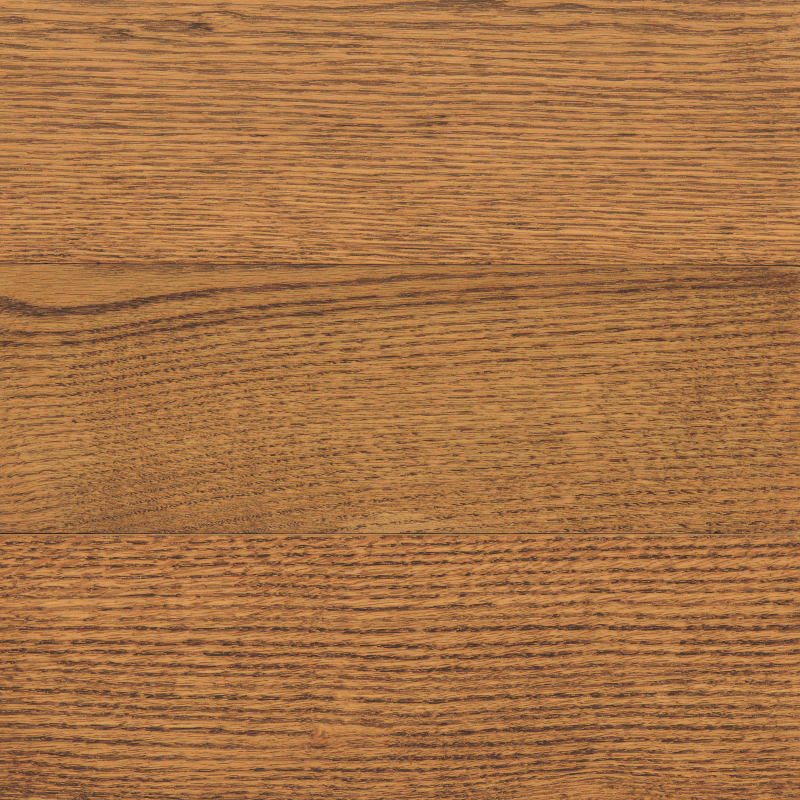
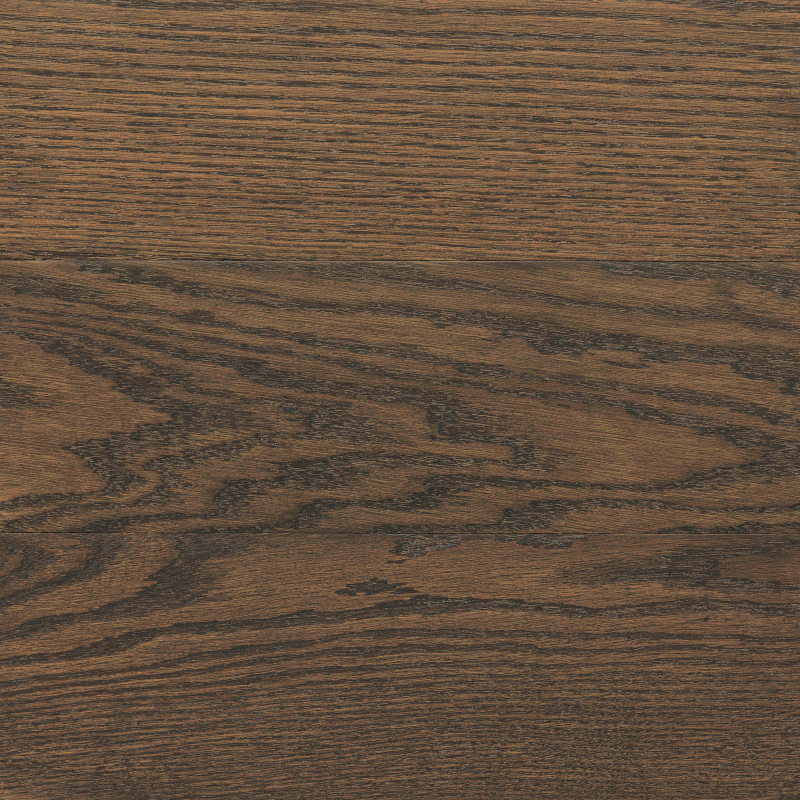
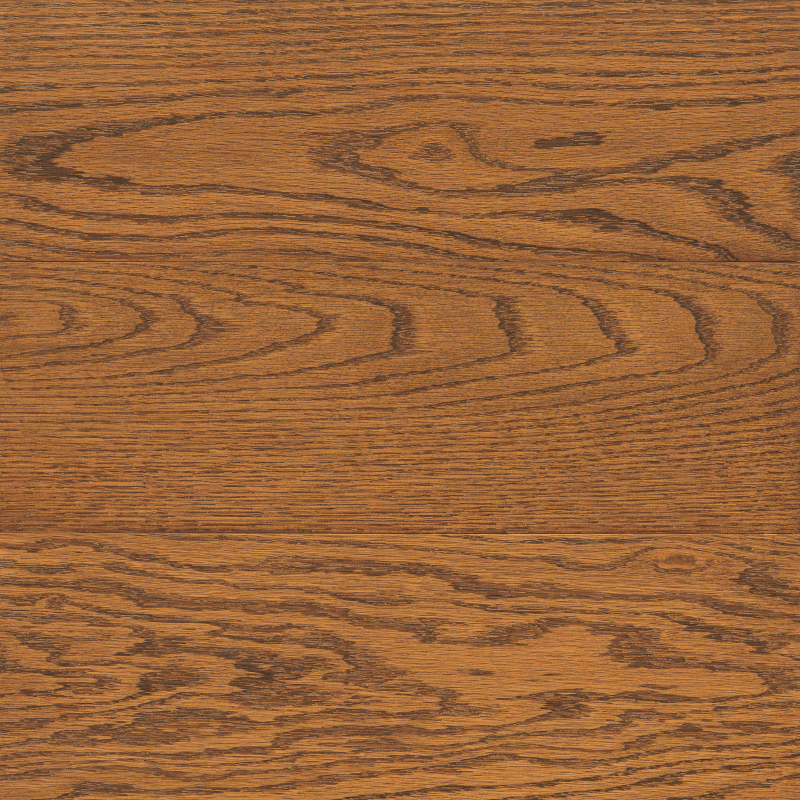
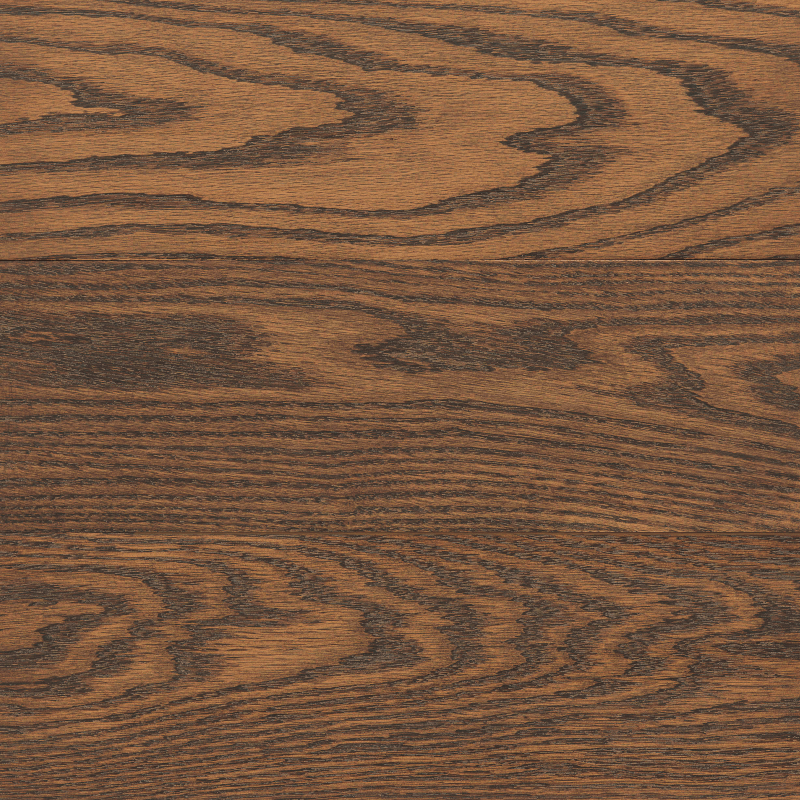
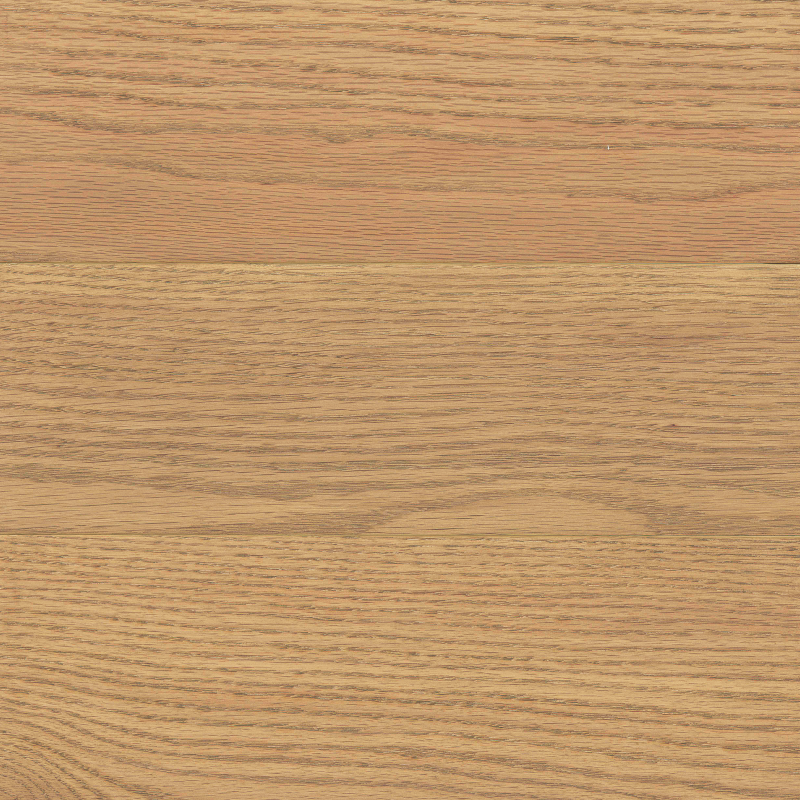
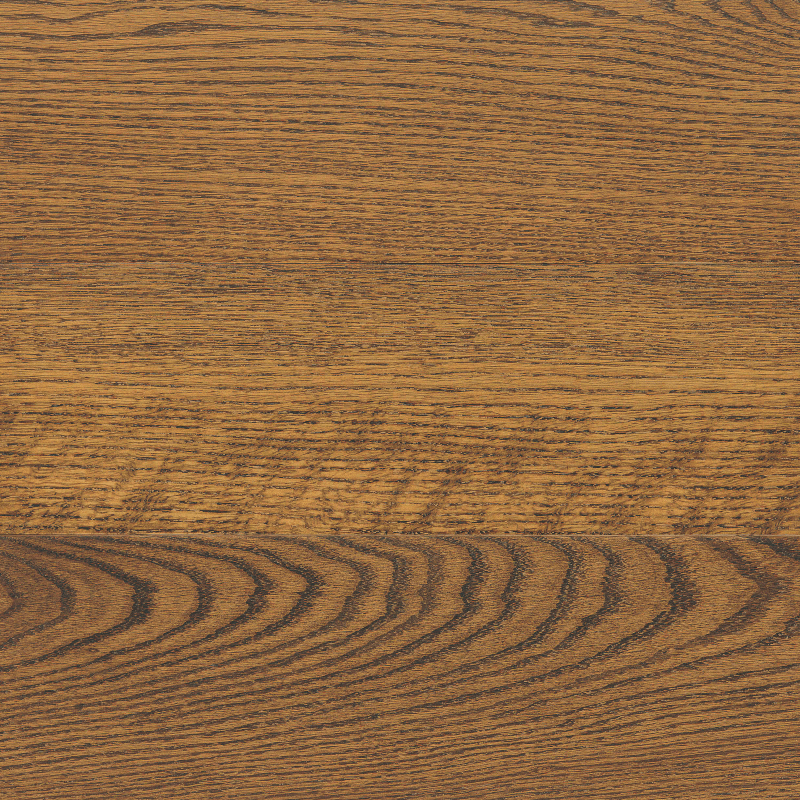
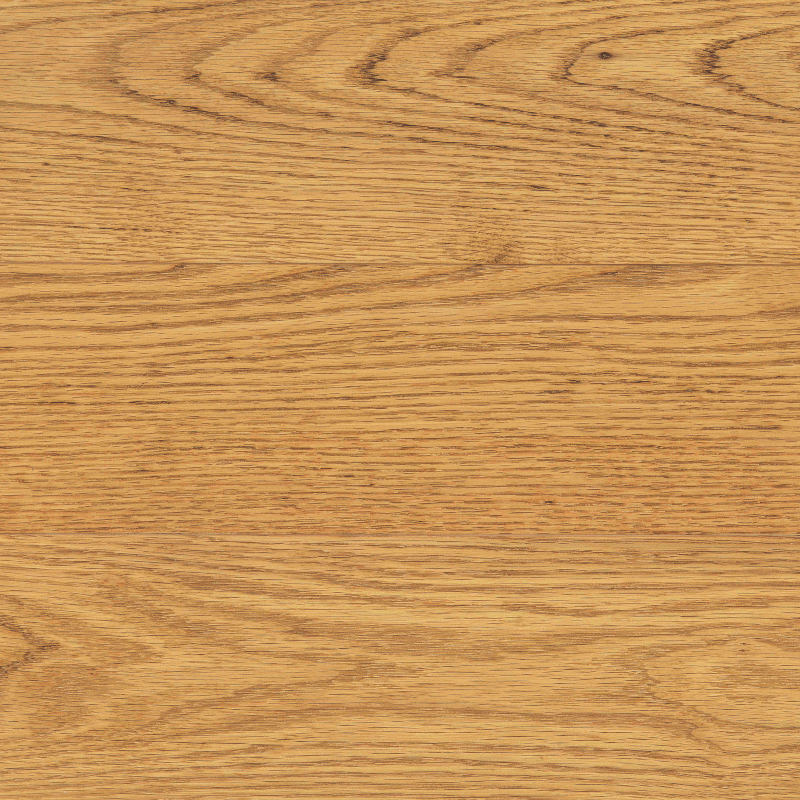
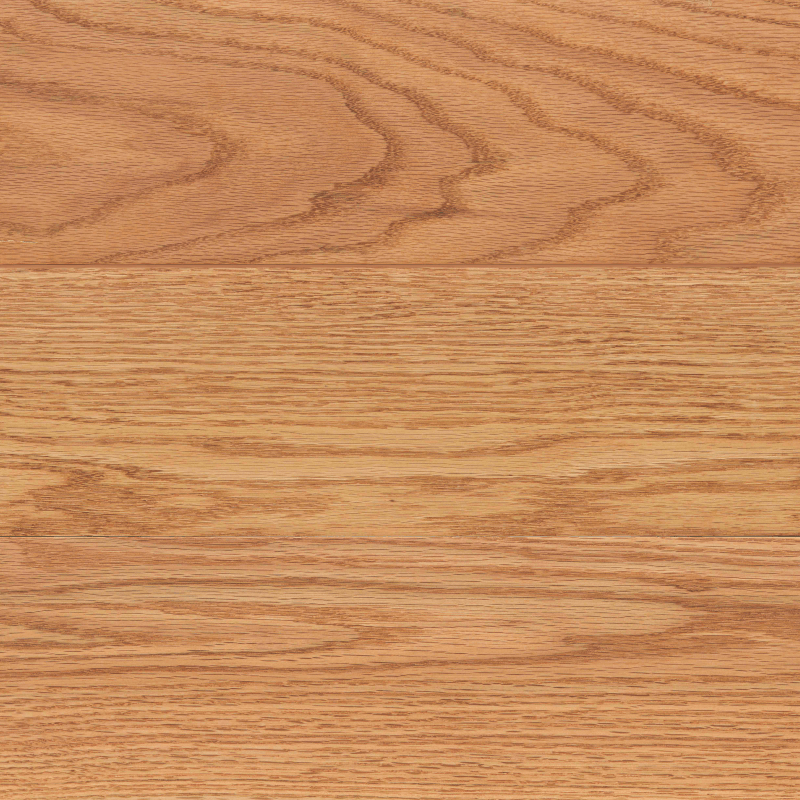
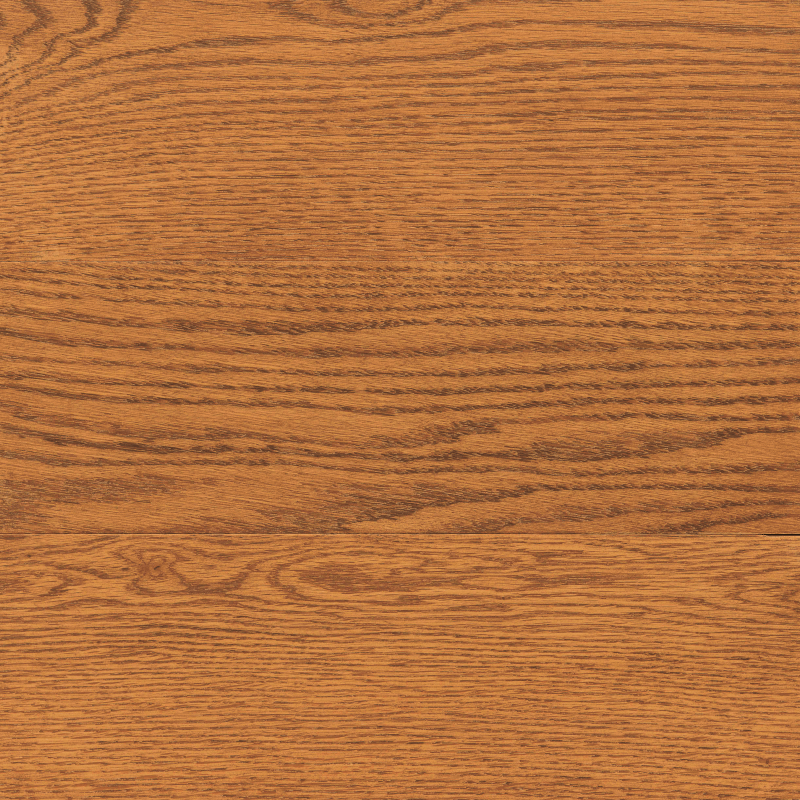
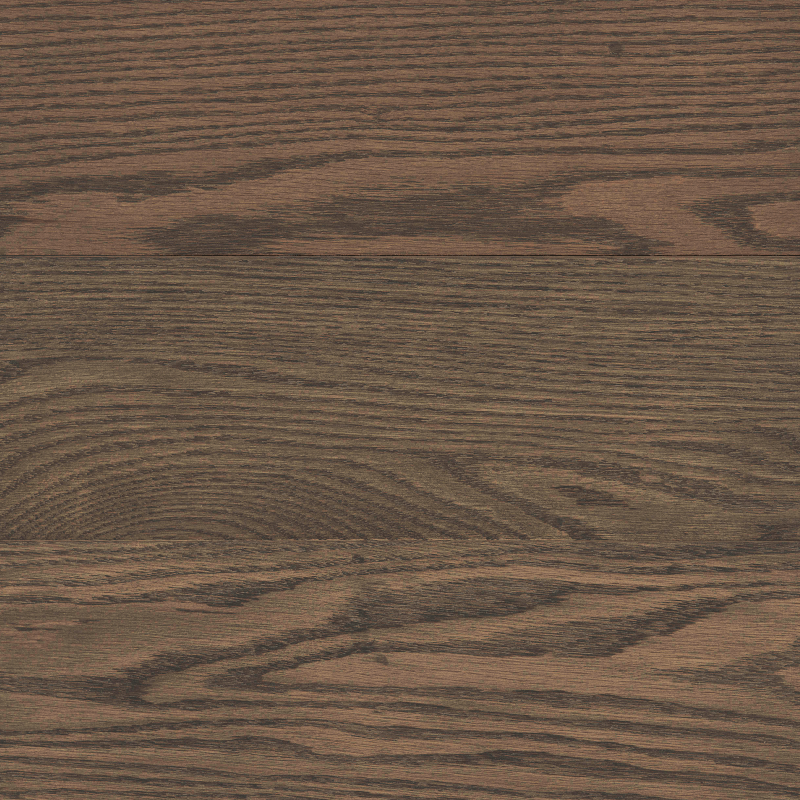
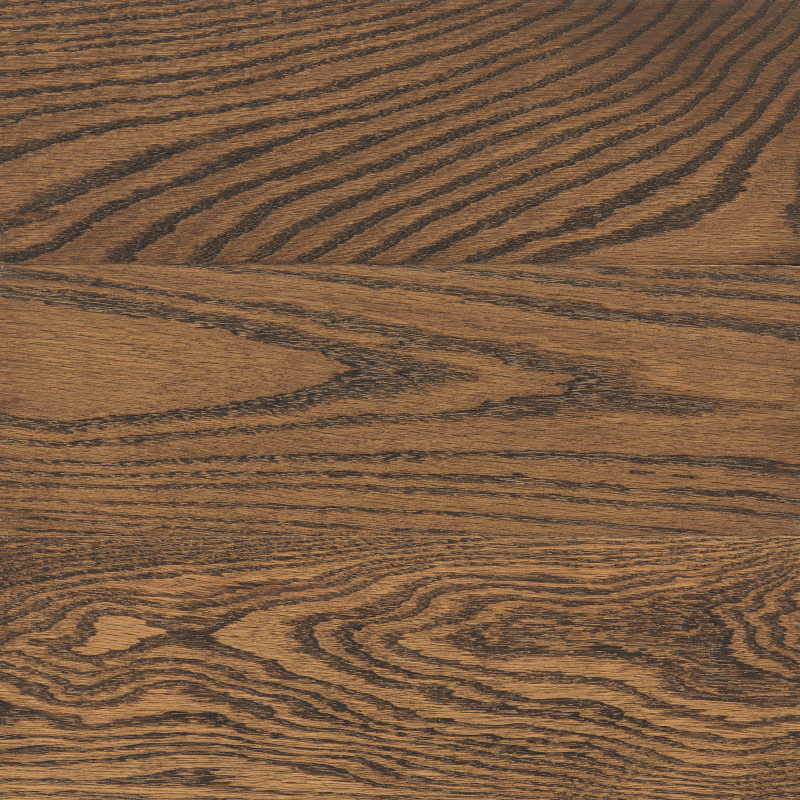
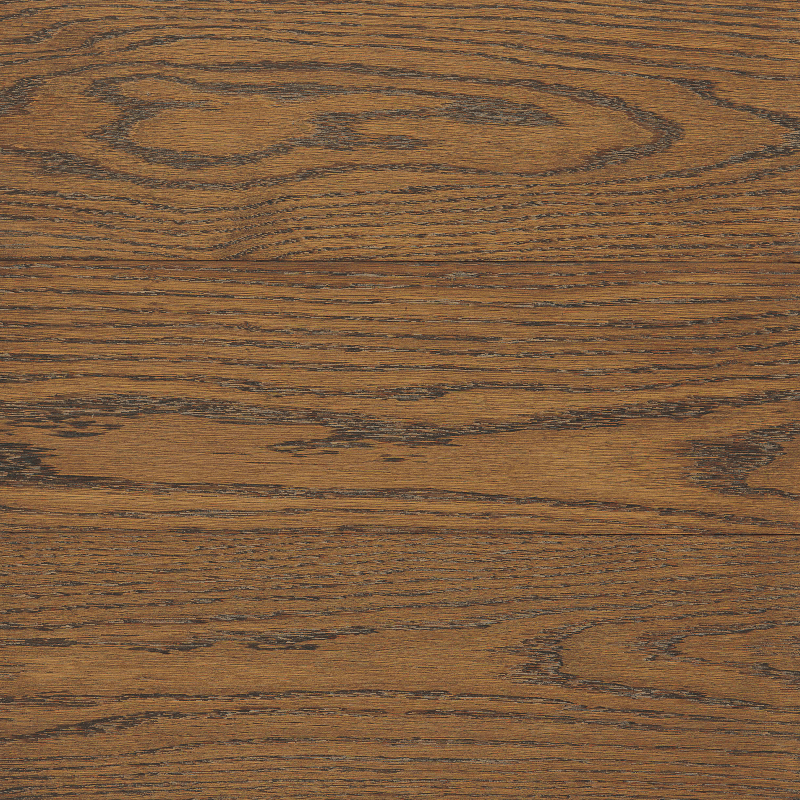
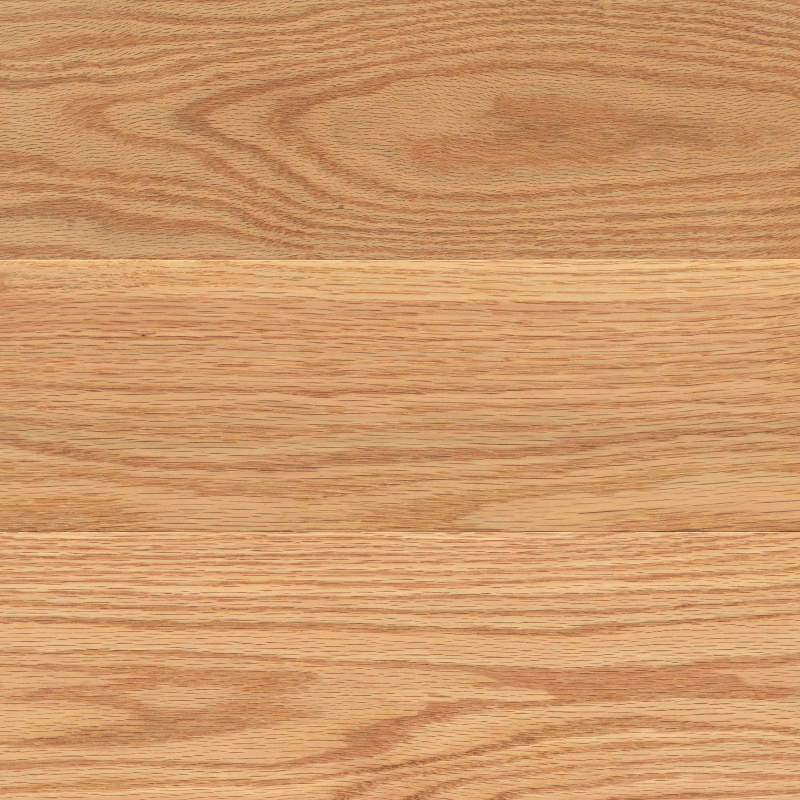
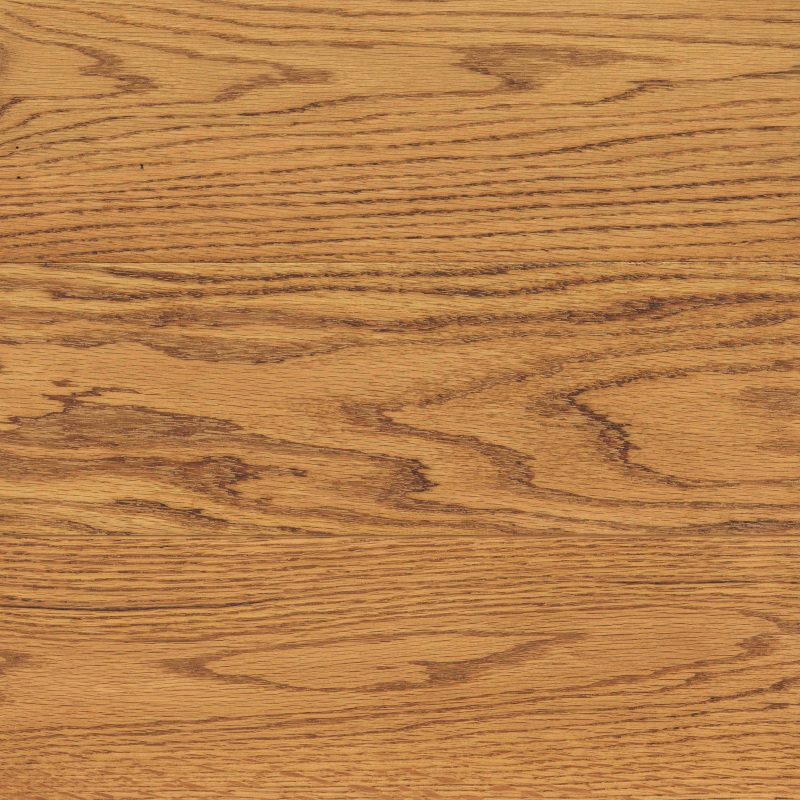
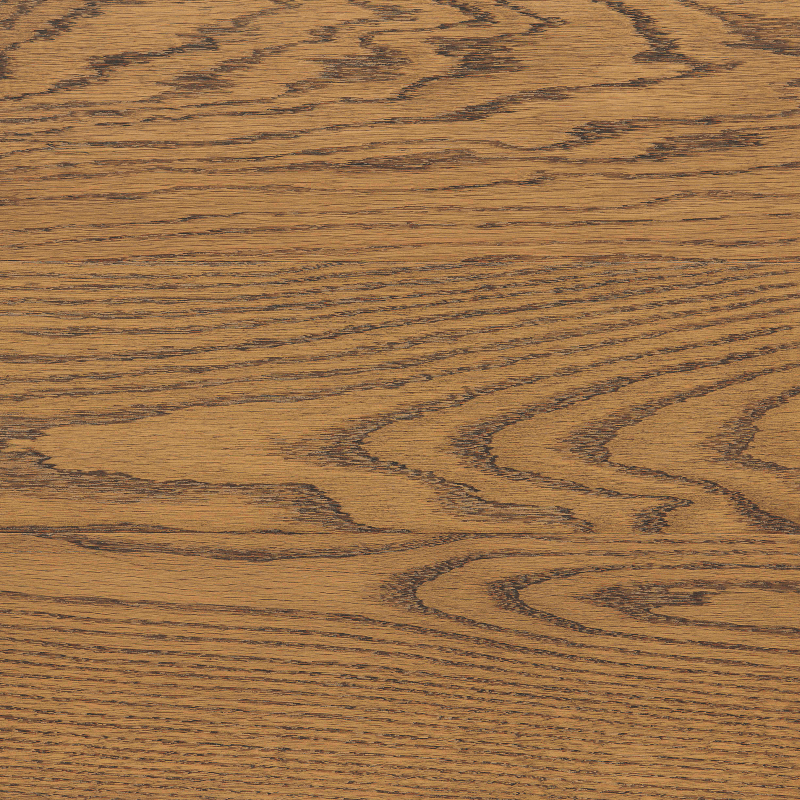

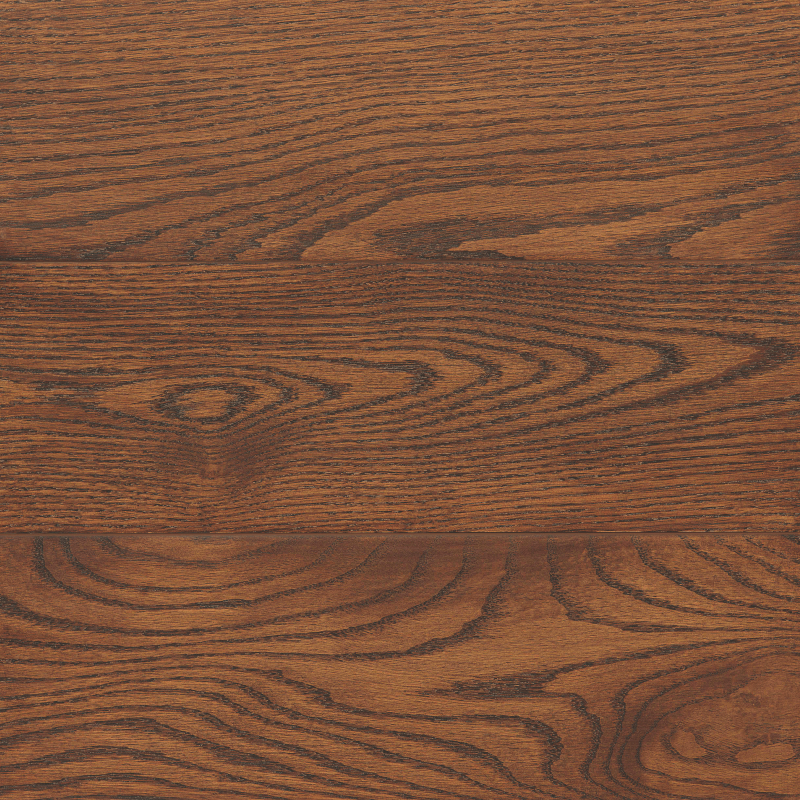
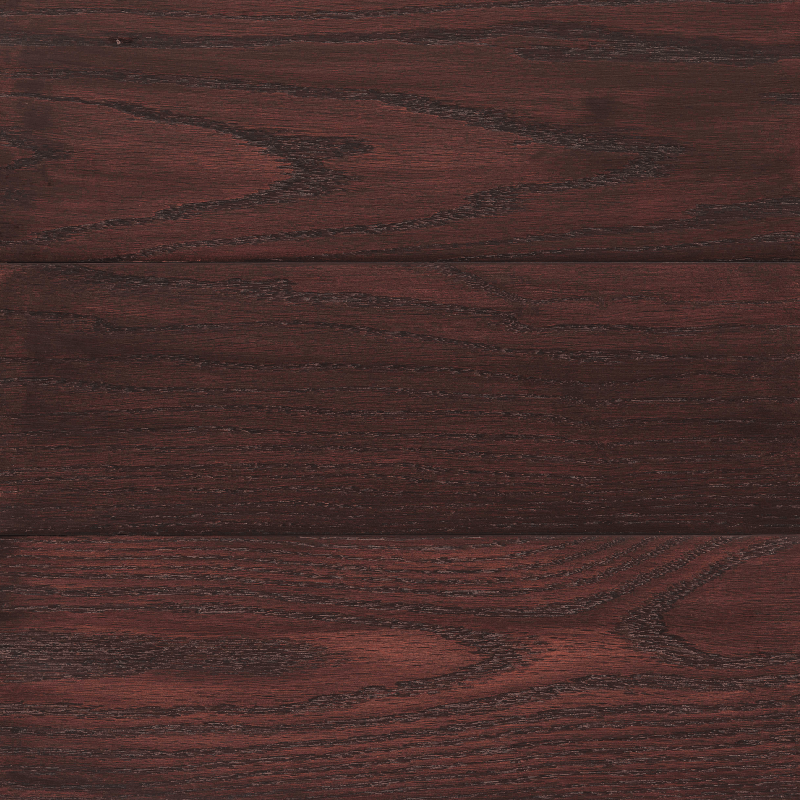
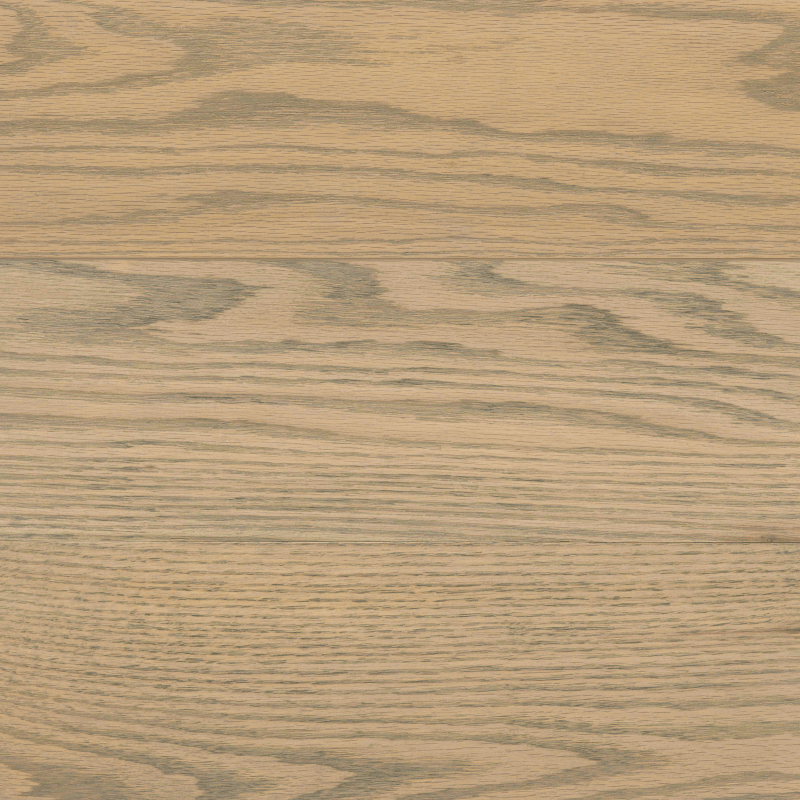
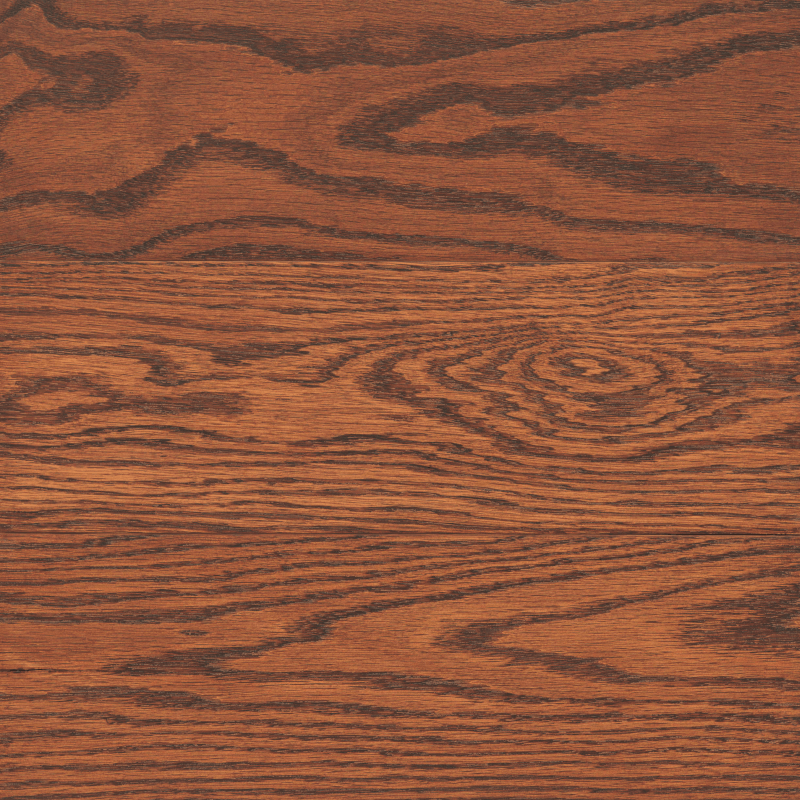
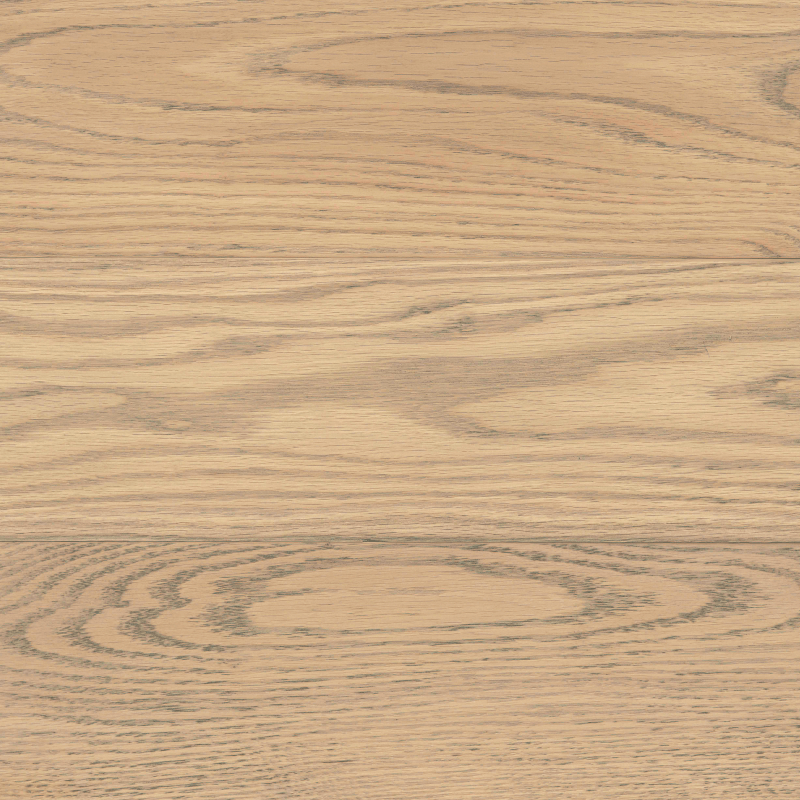
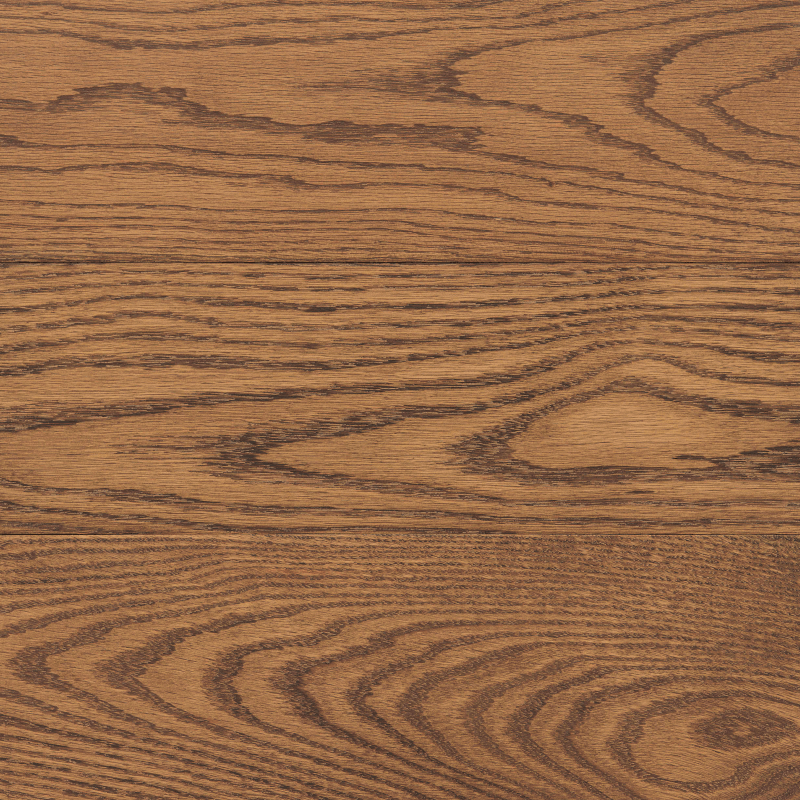
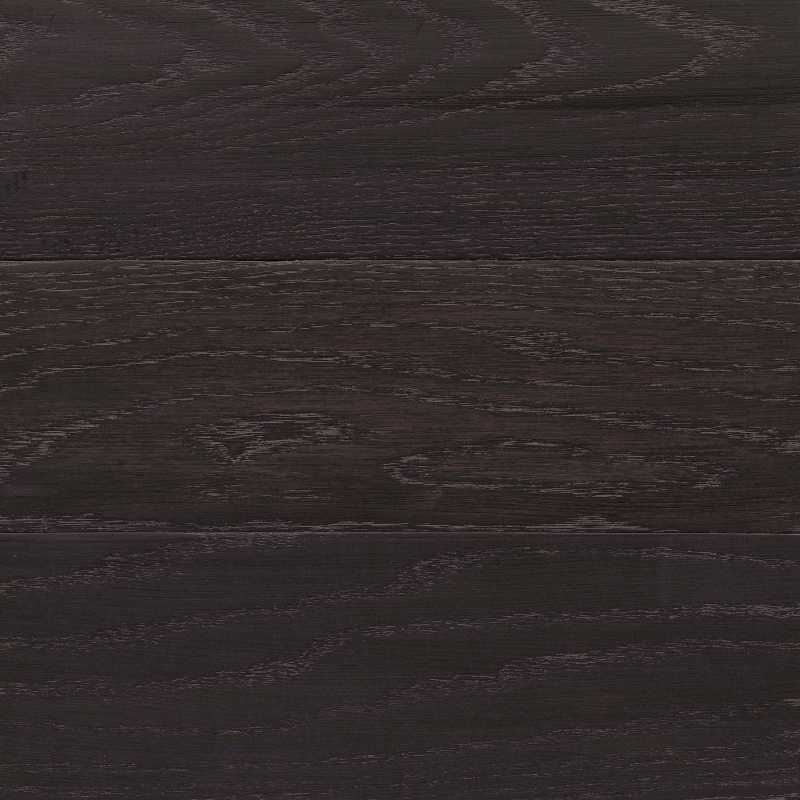
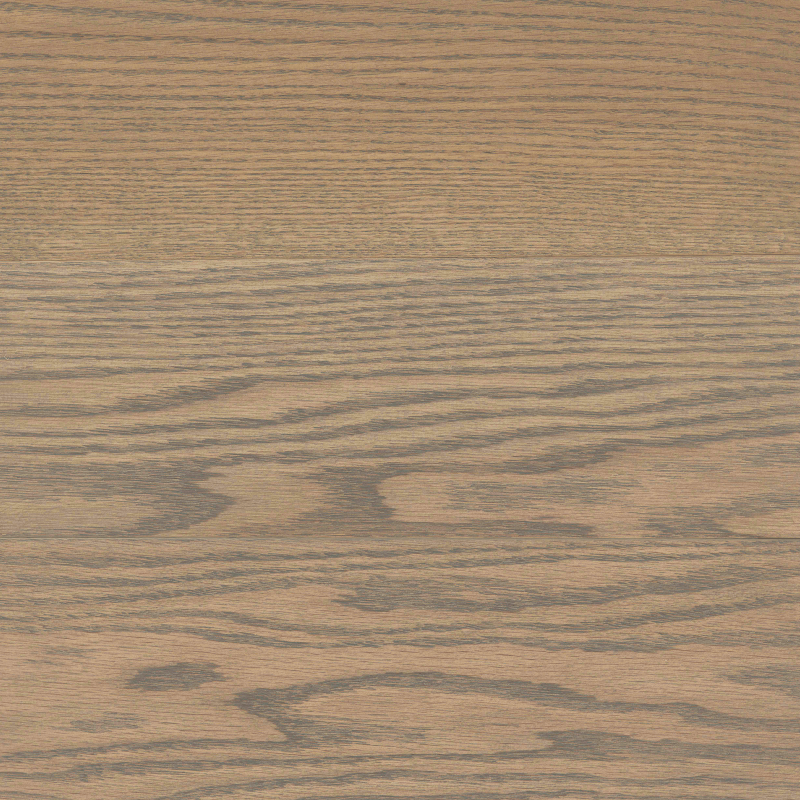

1. The Importance of On-Site Samples (The "Why")
Seeing a stain color on a small chip in a showroom or as a photo online can be deceiving. Lighting, the specific characteristics of your home’s wood, and the surrounding paint colors all play a crucial role in how the final floor will look. That’s why we always perform a live, on-site sample application on your actual flooring. This is the single most important step in the finishing process, allowing you to see exactly how the stain interacts with the wood grain and the natural light in your space before any large-scale commitment is made.
2. How We Create the Samples (The Process)
To ensure a true representation, we begin by sanding a small, inconspicuous section of your floor down to the bare wood. Next, we apply the different stain colors you’ve selected directly onto the floorboards. Because wood has natural variations in grain and density, applying the stain to the actual floor is the only way to see the true "color depth." We can also experiment with different sheens (satin vs. matte vs. semi-gloss) over the stain to help you visualize the final texture and finish.
3. Evaluating Your Samples (The How-To)
When you view the samples, we recommend taking your time and observing them at different times of the day. Natural daylight from windows will show the "true color," while evening lamplight will reveal the warmth. It’s also helpful to live with them for a day or two. Remember that the samples are currently wet or just sealed and might appear slightly different once they are fully dry and the final protective topcoat is applied. This viewing period ensures you are 100% confident in your choice before we proceed with the full staining of your home.
4. Understanding Wood Characteristics
As you examine the samples, you will notice that the stain takes differently on different boards. This is perfectly normal and is a testament to the authenticity of natural wood. Some boards might have more "heartwood" (denser, darker) and will absorb less stain, while "sapwood" (softer, lighter) might absorb more. This natural variation is what gives real hardwood floors their unique character and beauty, making every plank slightly different. The goal of the sample is to find a color that harmonizes with this natural variation.
5. The Final Step: Satin Finish Overview
You'll notice in our samples that we've applied a satin finish. A satin finish offers a beautiful, low-luster sheen that is widely considered the modern standard for hardwood floors. It strikes the perfect balance between the high shine of semi-gloss (which can show scratches and footprints) and the completely flat look of matte. Satin is excellent at hiding minor imperfections and daily wear, making it a practical, durable, and sophisticated choice for high-traffic areas. It provides a subtle, warm glow that enhances the wood grain without overwhelming it with glare.
Please fill out the form bellow to schedule a visit for evaluation of your project.